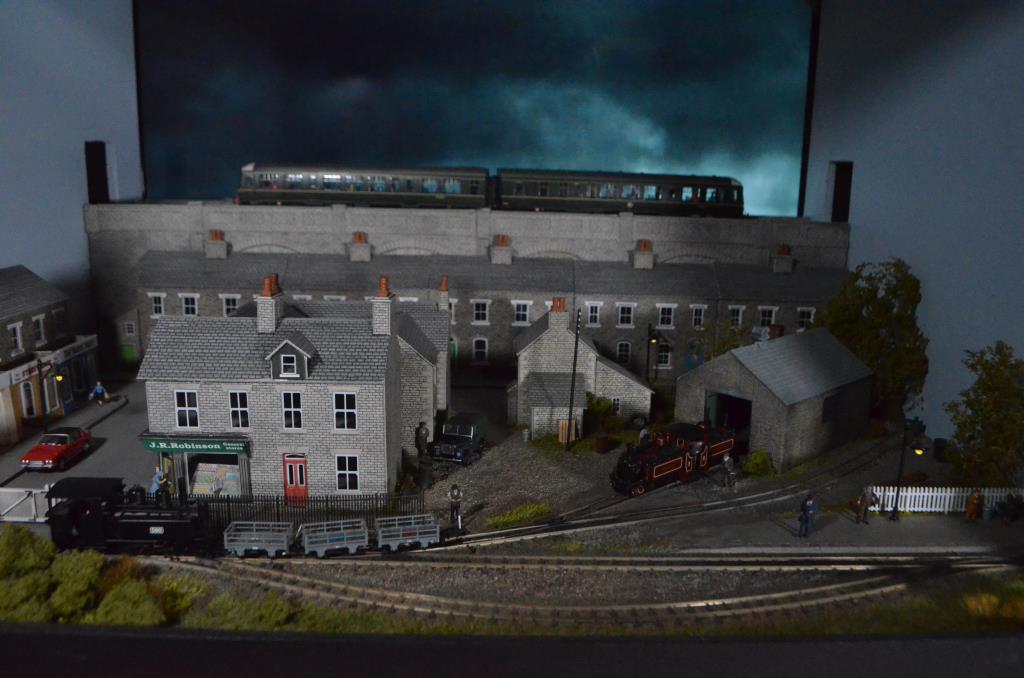
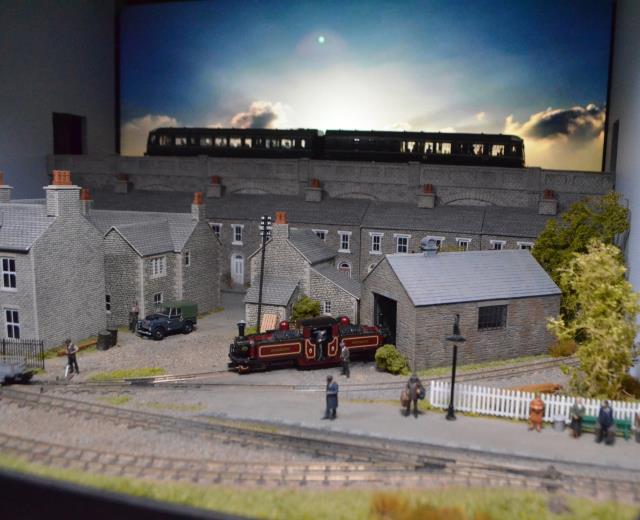
In part one and part two of this blog on the use of a TV as a digital backdrop for the Bond Lane model railway layout, we explained how we used a light sensor to control the LED strip lighting, and a second LED monitor to duplicate the video on the backscene to help add some subtle changes of light and colour.
This worked really well and allowed us to use any video on the backscene without any real preparation. It also provided perfect synchronisation between the backscene and the overhead lighting, without the need for any complicated computer control. However, the change in colour was still relatively subtle.
The introduction of the second LED screen was tantalising — if only we could make it brighter, or find a way to make the colour stronger, then it could really enhance the atmosphere of the layout in any given scene.
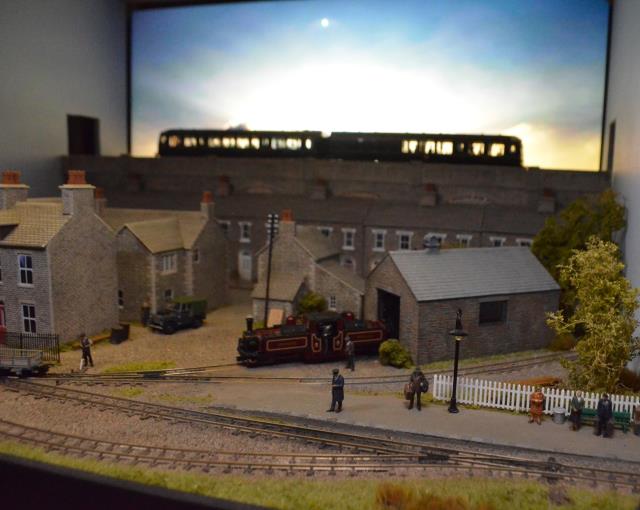
We experimented with using the LED screen as a single block of colour: an all-black screen made the scene quite dark, an all-white screen lit it beautifully, and an all-orange screen gave a convincing impression of sunset. We also tried quick changes from all black to all white to simulate flashes of lighting, and it was surprisingly effective. This seemed to be the answer, but the challenge was how to synchronise this with the backscene so that it felt seamless and believable.
This proved incredibly difficult to solve. We tried using a second laptop to run both a PowerPoint and a video at the same time as the first laptop, but it was impossible to keep the two synchronised for more than a couple of minutes. Manually controlling the PowerPoint by clicking in time would probably have driven us over the edge if we’d had to do it for any length of time!
Eventually, the eureka moment came. Rather than trying to run two videos in tandem, what if we ran one video across both screens? That would ensure perfect synchronisation and only require one laptop to take along to exhibitions. This turned out to be relatively simple, although it did require a bit of knowledge of video-editing software (we used Adobe Premiere Pro, for those interested). We were already using the software to assemble a sequence of videos including day and night sections, along with lightning and fireworks, so it wasn’t a massive extra step — we simply had to resize the canvas to be double the width, with the left side containing the main sequence and the right side containing blocks of colour.
The result was a single video that could be played with one half on the backscene and the other on the LED panel above. Initially, we just stretched the video-player window across both screens, but this could be fiddly to set up. Eventually we discovered PotPlayer, which makes it much easier to split a video across two screens.
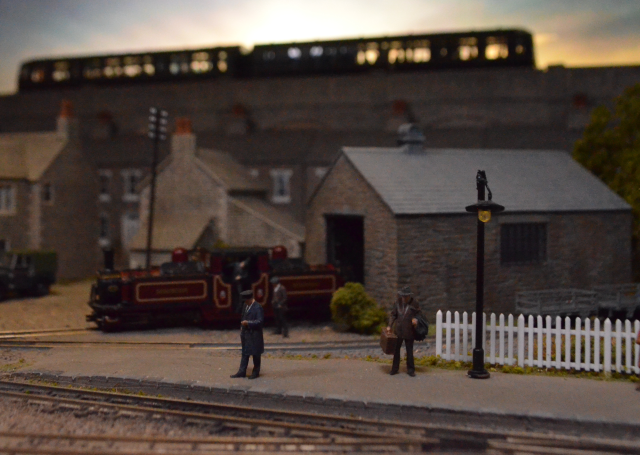
Editing the video took a little more time with this additional element, but the control it gave us over the lighting was significant. Using fades from black to white created gradual changes, while cutting in single frames of white effectively simulated lightning. Ultimately, this allowed us to add a northern-lights section, with the layout bathed in reds and greens, and a strong orange glow for the sunset sequence.
In the fourth and final article in this series, we’ll go into detail about how we managed to get other elements, like the streetlights and house lights, to synchronise with the backscene using a technique inspired by cinema.
by Neil Limbrick
5756 views
307 days ago
by Neil Limbrick
5213 views
2 years ago
by Neil Limbrick
4165 views
2 years ago
by Neil Limbrick
4102 views
2 years ago
by Neil Limbrick
3768 views
2 years ago
by Neil Limbrick
3427 views
2 years ago